It's been a while since my last post but i have been busy with all sorts of things. Since my last update i now have the transom shield all bolted in place, i lowered the engine in place to check that the engine mounts were at the correct height and that the engine fitted in place.
The engine just made it over the boat deck with very little clearance. I do not have enough headroom to play with. Once in i used the engine alignment tool to get the engine at the right height, and guess what it did not fit under the deck. Not a problem, i chopped the middle section out of the deck, which will later be covered by an aft bench seat.
I also installed the fuel tank and covered it with the missing part of the floor deck.
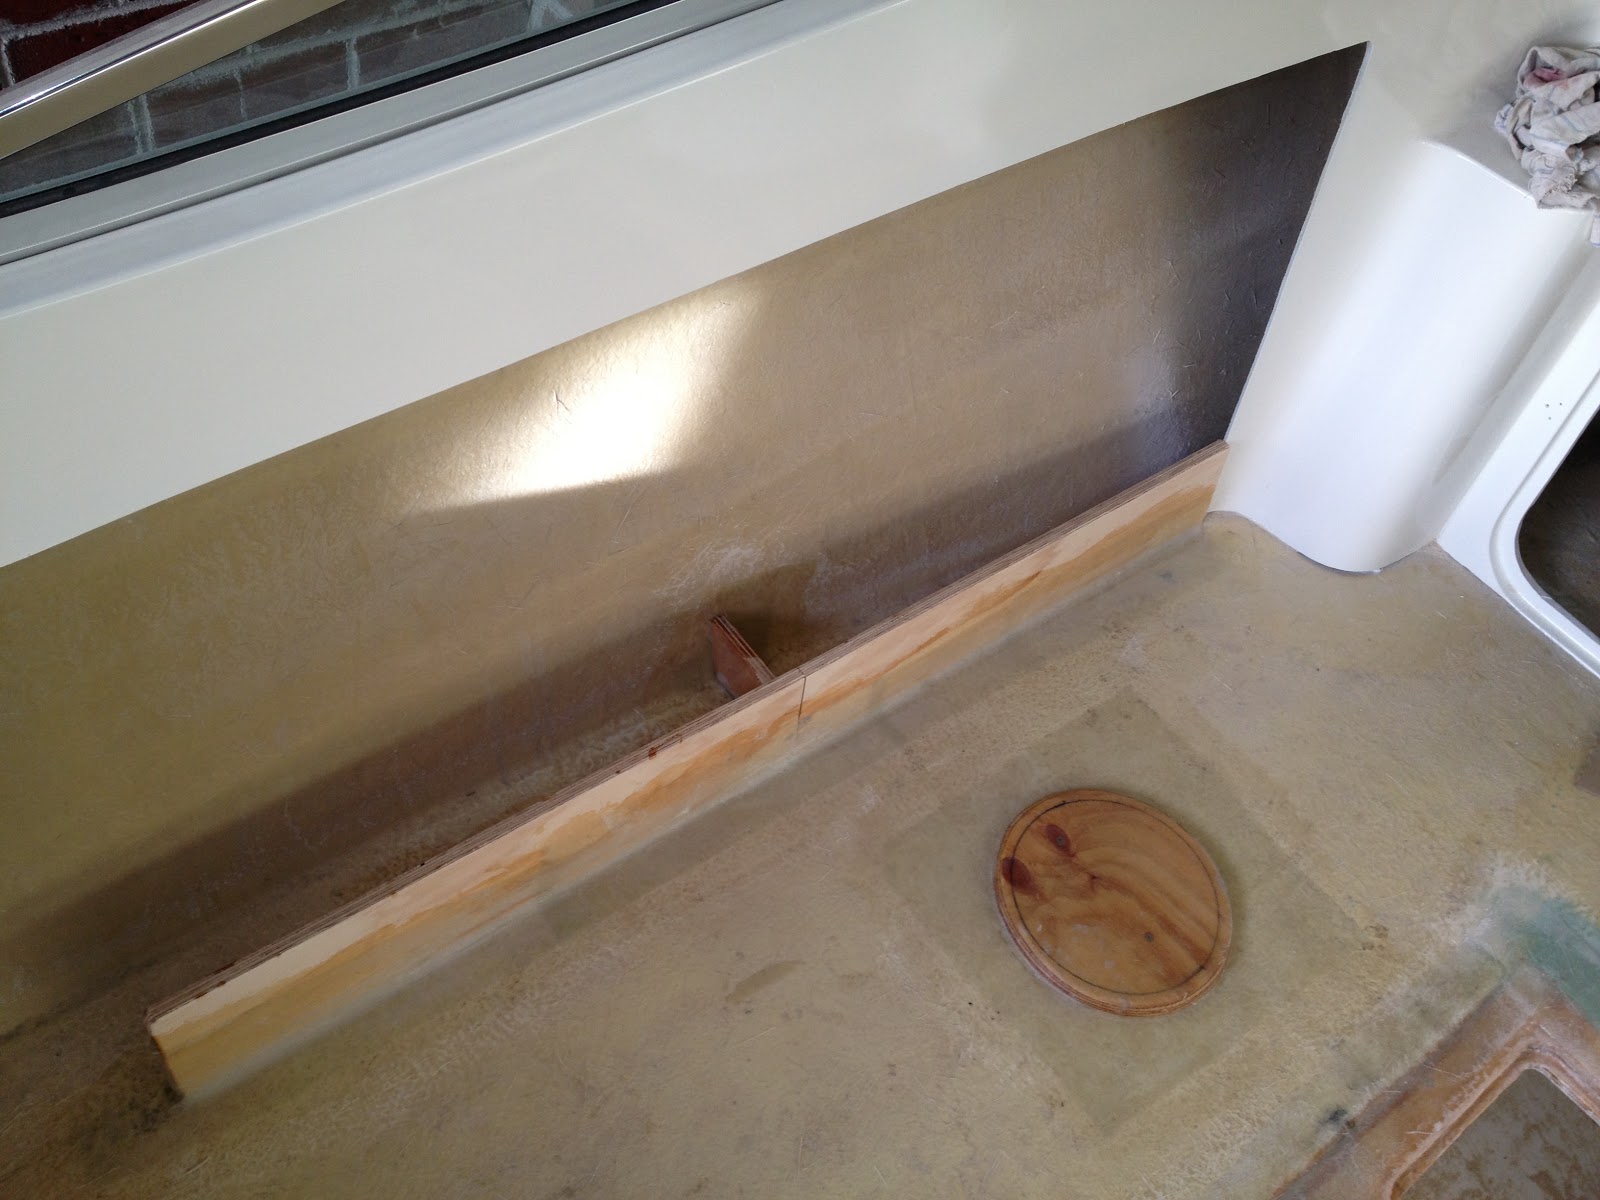
After getting all the measurements i needed for the engine it was time to get it out of the boat again and start working on some fibreglass work and finish off all the smelly and stick work, starting by constructing the side pockets and fixing the cabin floor. I installed a false floor to get rid of the v shape i had.
Fuel Tank Compartment with Gelcoat
Fuel Tank and Vent Line Installed
Trial Fit of Engine
Lowering engine into the boat
Cut out in deck to fit engine
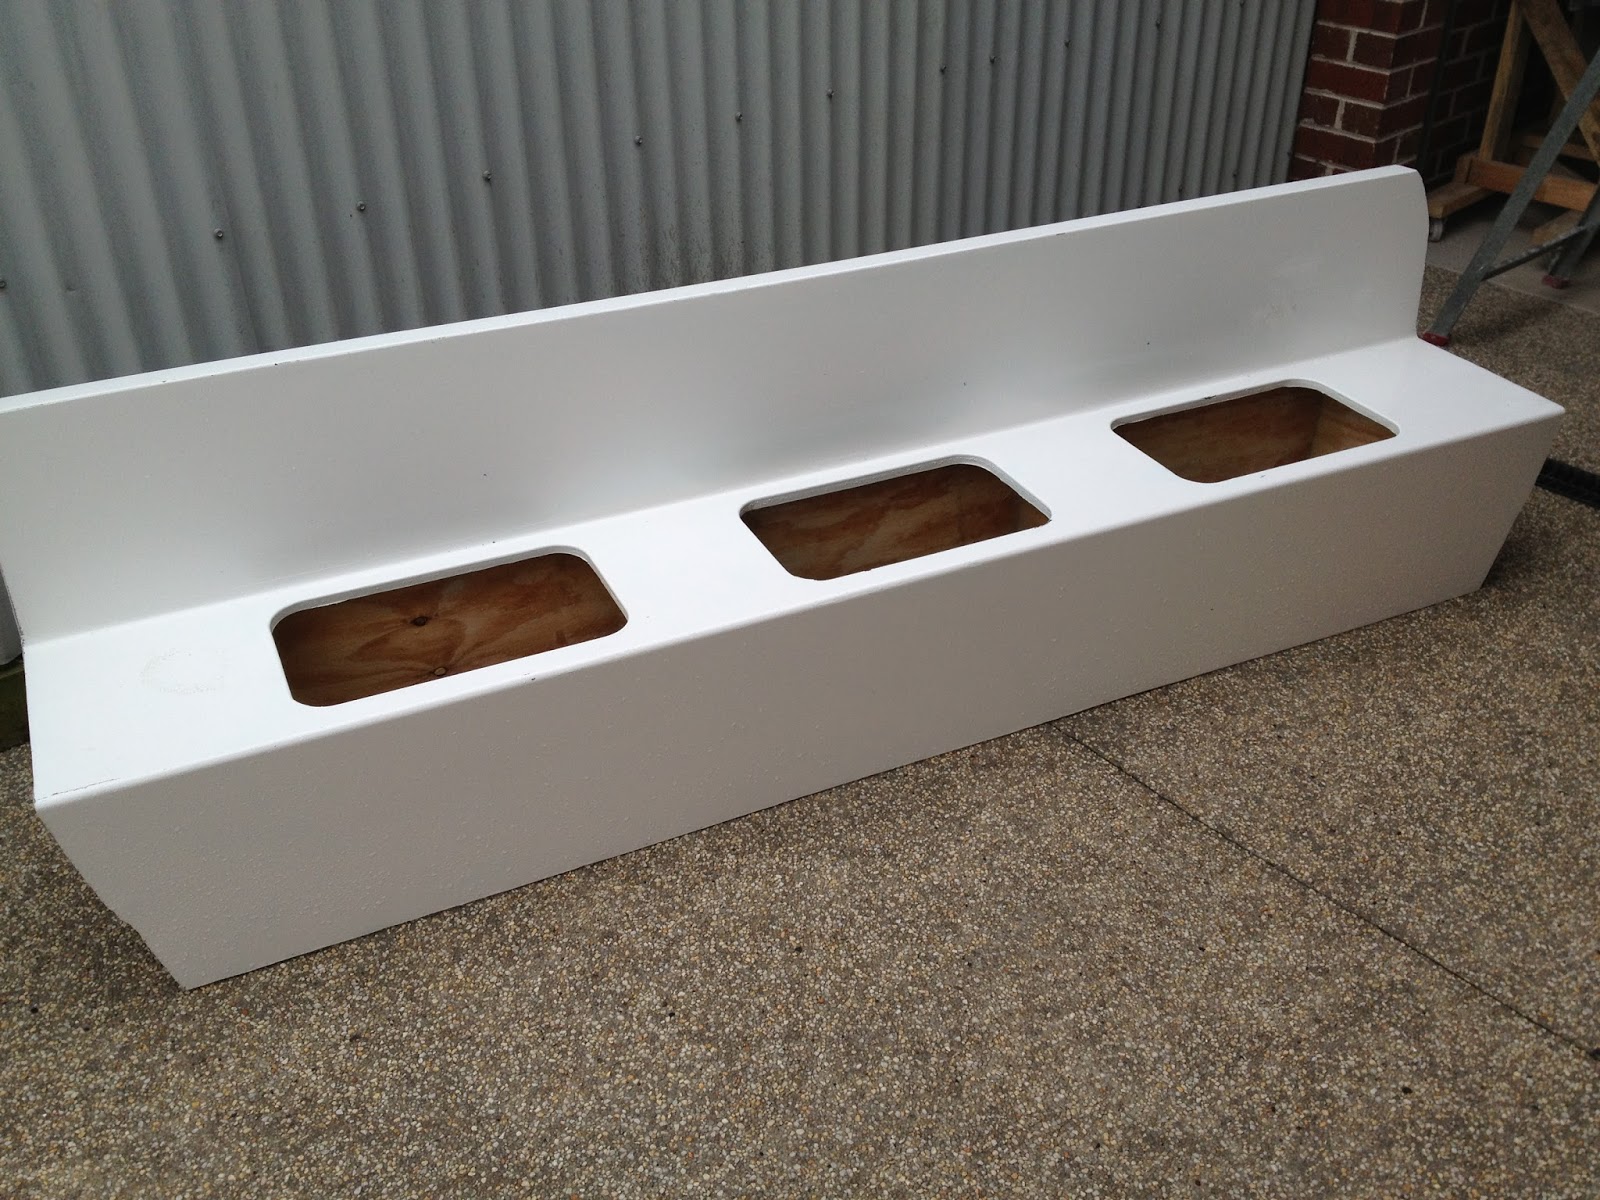
Construction of port side pockets and seat base
Construction of Starboard side pockets
Next i moved onto constructing a dash board for the boat, since it did not come with one. after searching through hundreds of pictures of different dashboards i started crafting my own, nothing fancy but functional and enough space for all the necessary instruments.
It all started with the plug, which is an exact copy of the finished product.
Then you cover it with bog and plaster, you sand it and plaster again, sand, plaster, sand, plaster, again and again until its almost smooth and fair.
Then i gave it 6 coats of high build primer
Then you guessed it ...... more sanding and in the end a wet sand with 600 grit then 2000 grit
Since it's a complex shape with reverse sides and angles i had to do it in a 3 part split mould. In the photo above you can see the flanges for the first half.
Next was 3 layers of Paste wax and followed by 8 coats of PVA Mould release.
Then a layer of gelcoat
followed by 1 layer of 225g Chopped strand a 3 layers of 450g chopped strand.
While i was doing all this fibreglass work i decided to make a simple L shaped mould with an oval opening in the middle for covering all the electrical work inside the cabin. this will be fibreglassed inside behind the dash.
White melamine covered with PVA and a layer of gelcoat on top
Followed by 4 layers of fibreglass